A few weeks back we had our third lab for Spring 2015 Young Engineers of Today. The goal of the lab was to teach soldering to all of our students. I have over 20 students in this semester class so to make sure I can help each student learn and to adhere to safety we have broken up our labs into two nights.
I spend two nights during the week of labs working with the students in a small group setting. We max our number at 15 so I can make sure that I can help along the way and the environment is safe and conducive to learning.
Here is the basic slidedeck to give you an idea of the night.
We start the lab explaining what solder and the soldering process is and the purposes for why we need to know how to solder. After explaining the basics of this process and why it is important and helpful we go through safety.
We tell them this very true statement
[Tweet “2 Types of people who solder. Those who have been burned and those that will get burned.”]
After going through safety we jump into easy soldering by soldering two wires in an X pattern using the helping hand. Then we move to parallel wire soldering and how to move the solder along a joint.

After that we move into making a paperclip man. This requires students to solder joints and it does not matter if they mess up because the cost is minimal. It also forces them to use their clippers to cut the paperclips.


At this point they start to feel confident so I give them some old PCB boards and resistors and show them how to solder these joints. This gives them fits as they either put too much on, burn the boards, or want to put solder on the solder tip and then dab the board. They really struggle using both hands to hold solder, the solder iron, and lining it up to the joint.

I also think it is important to teach how to desolder so I have them attempt to remove the resistor using their solder wicks. They realize it is not as easy as they think and I hope they figure out that they want to pay attention and reduce how many mistakes they make. It is a great lesson that they have to learn on their own and sometimes the only way to learn is the hard way.
At this point we are over an hour into lab. I give them their Weevil kit from Sparkfun and tell them to get this done before lab is over. I remind them to read instructions and install pieces correctly. It amazes me that no matter how many times you tell them to slow down, read instructions, and pay attention to detail…..they don’t!

This is the powerful learning of this program. I don’t come to the rescue and solve their problems. They must learn on their own. So, if they mess up they must develop the skills and thinking process to make it right. I work with them to find out how to solve the problem. I tell you what, when you have them desolder their joint one time(it is a pain in the butt for them) they usually pay more attention. It is a Tough Love teaching approach, but it is vital for them to learn these traits. They must learn to solve their own problems. This entire program is about developing a toolkit for life situations.
In the end we had every single one of them leave successful except for one student. I will work with him to get him on track. It was a great night. Even the students who soldered last semester gained new skills and insight.

This lab was more skill based, but it will pay off when we begin our robotic hand project in about a month.
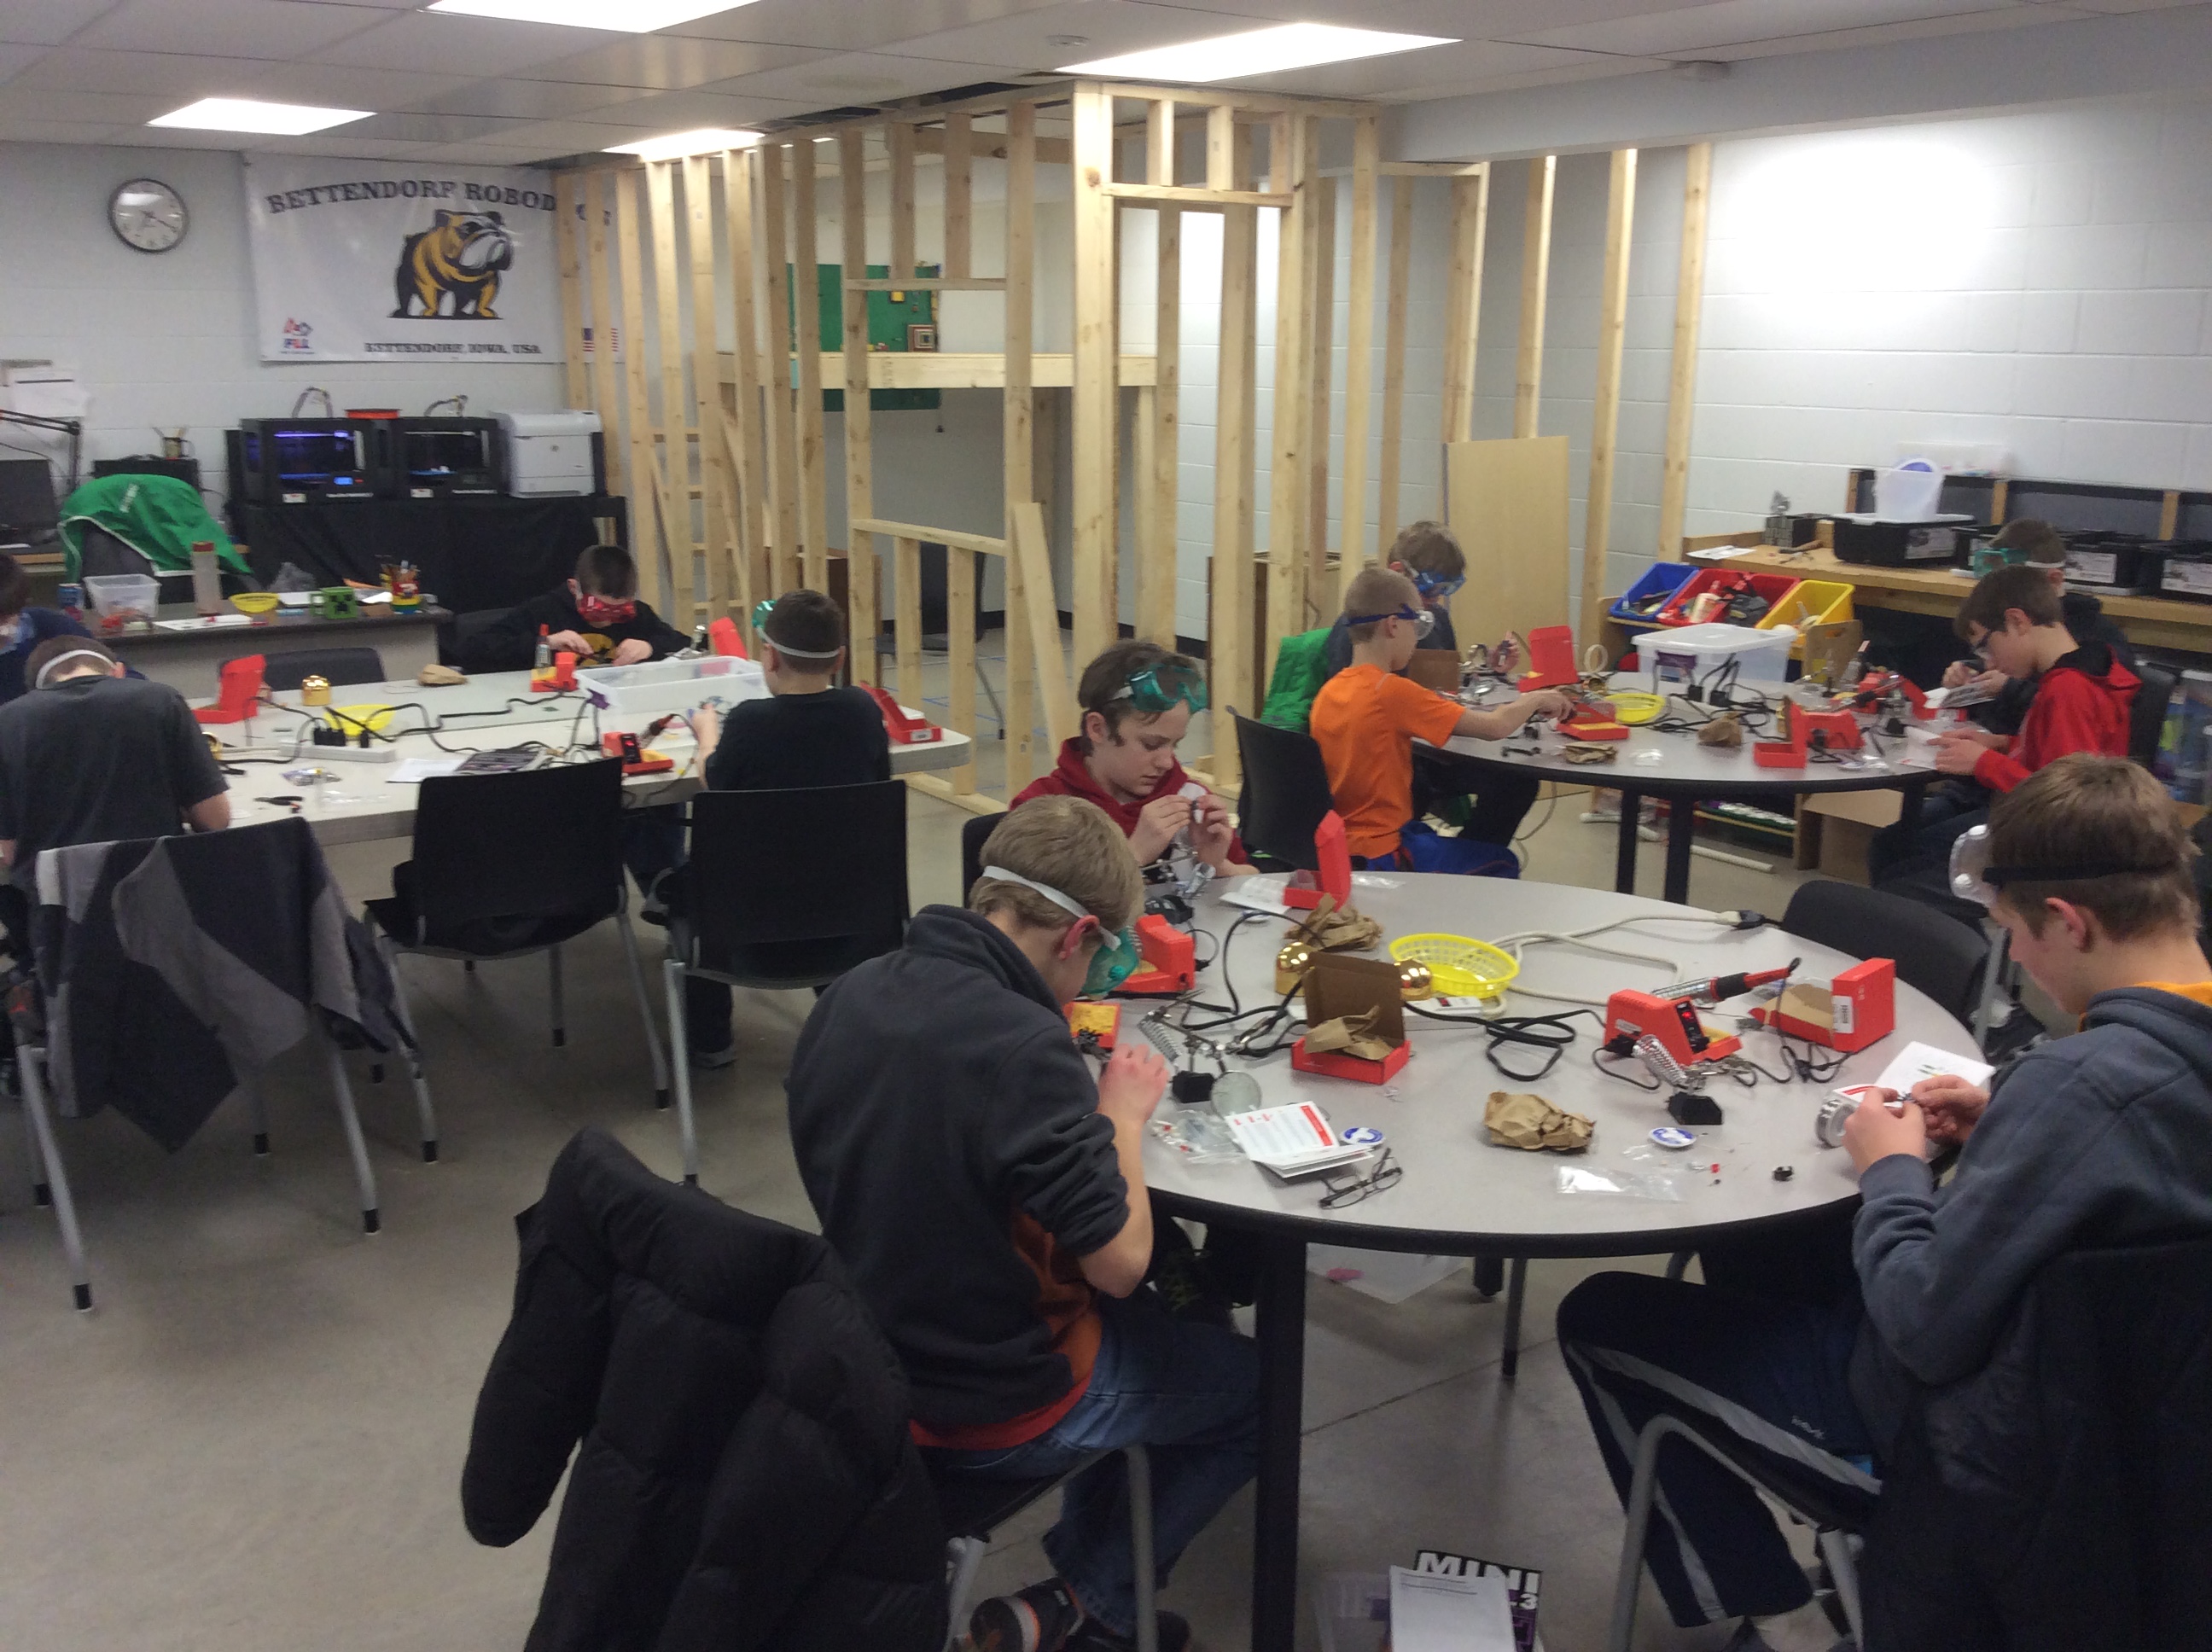
Here are more pictures for you to view if you want to see more work in action.
Leave a Reply