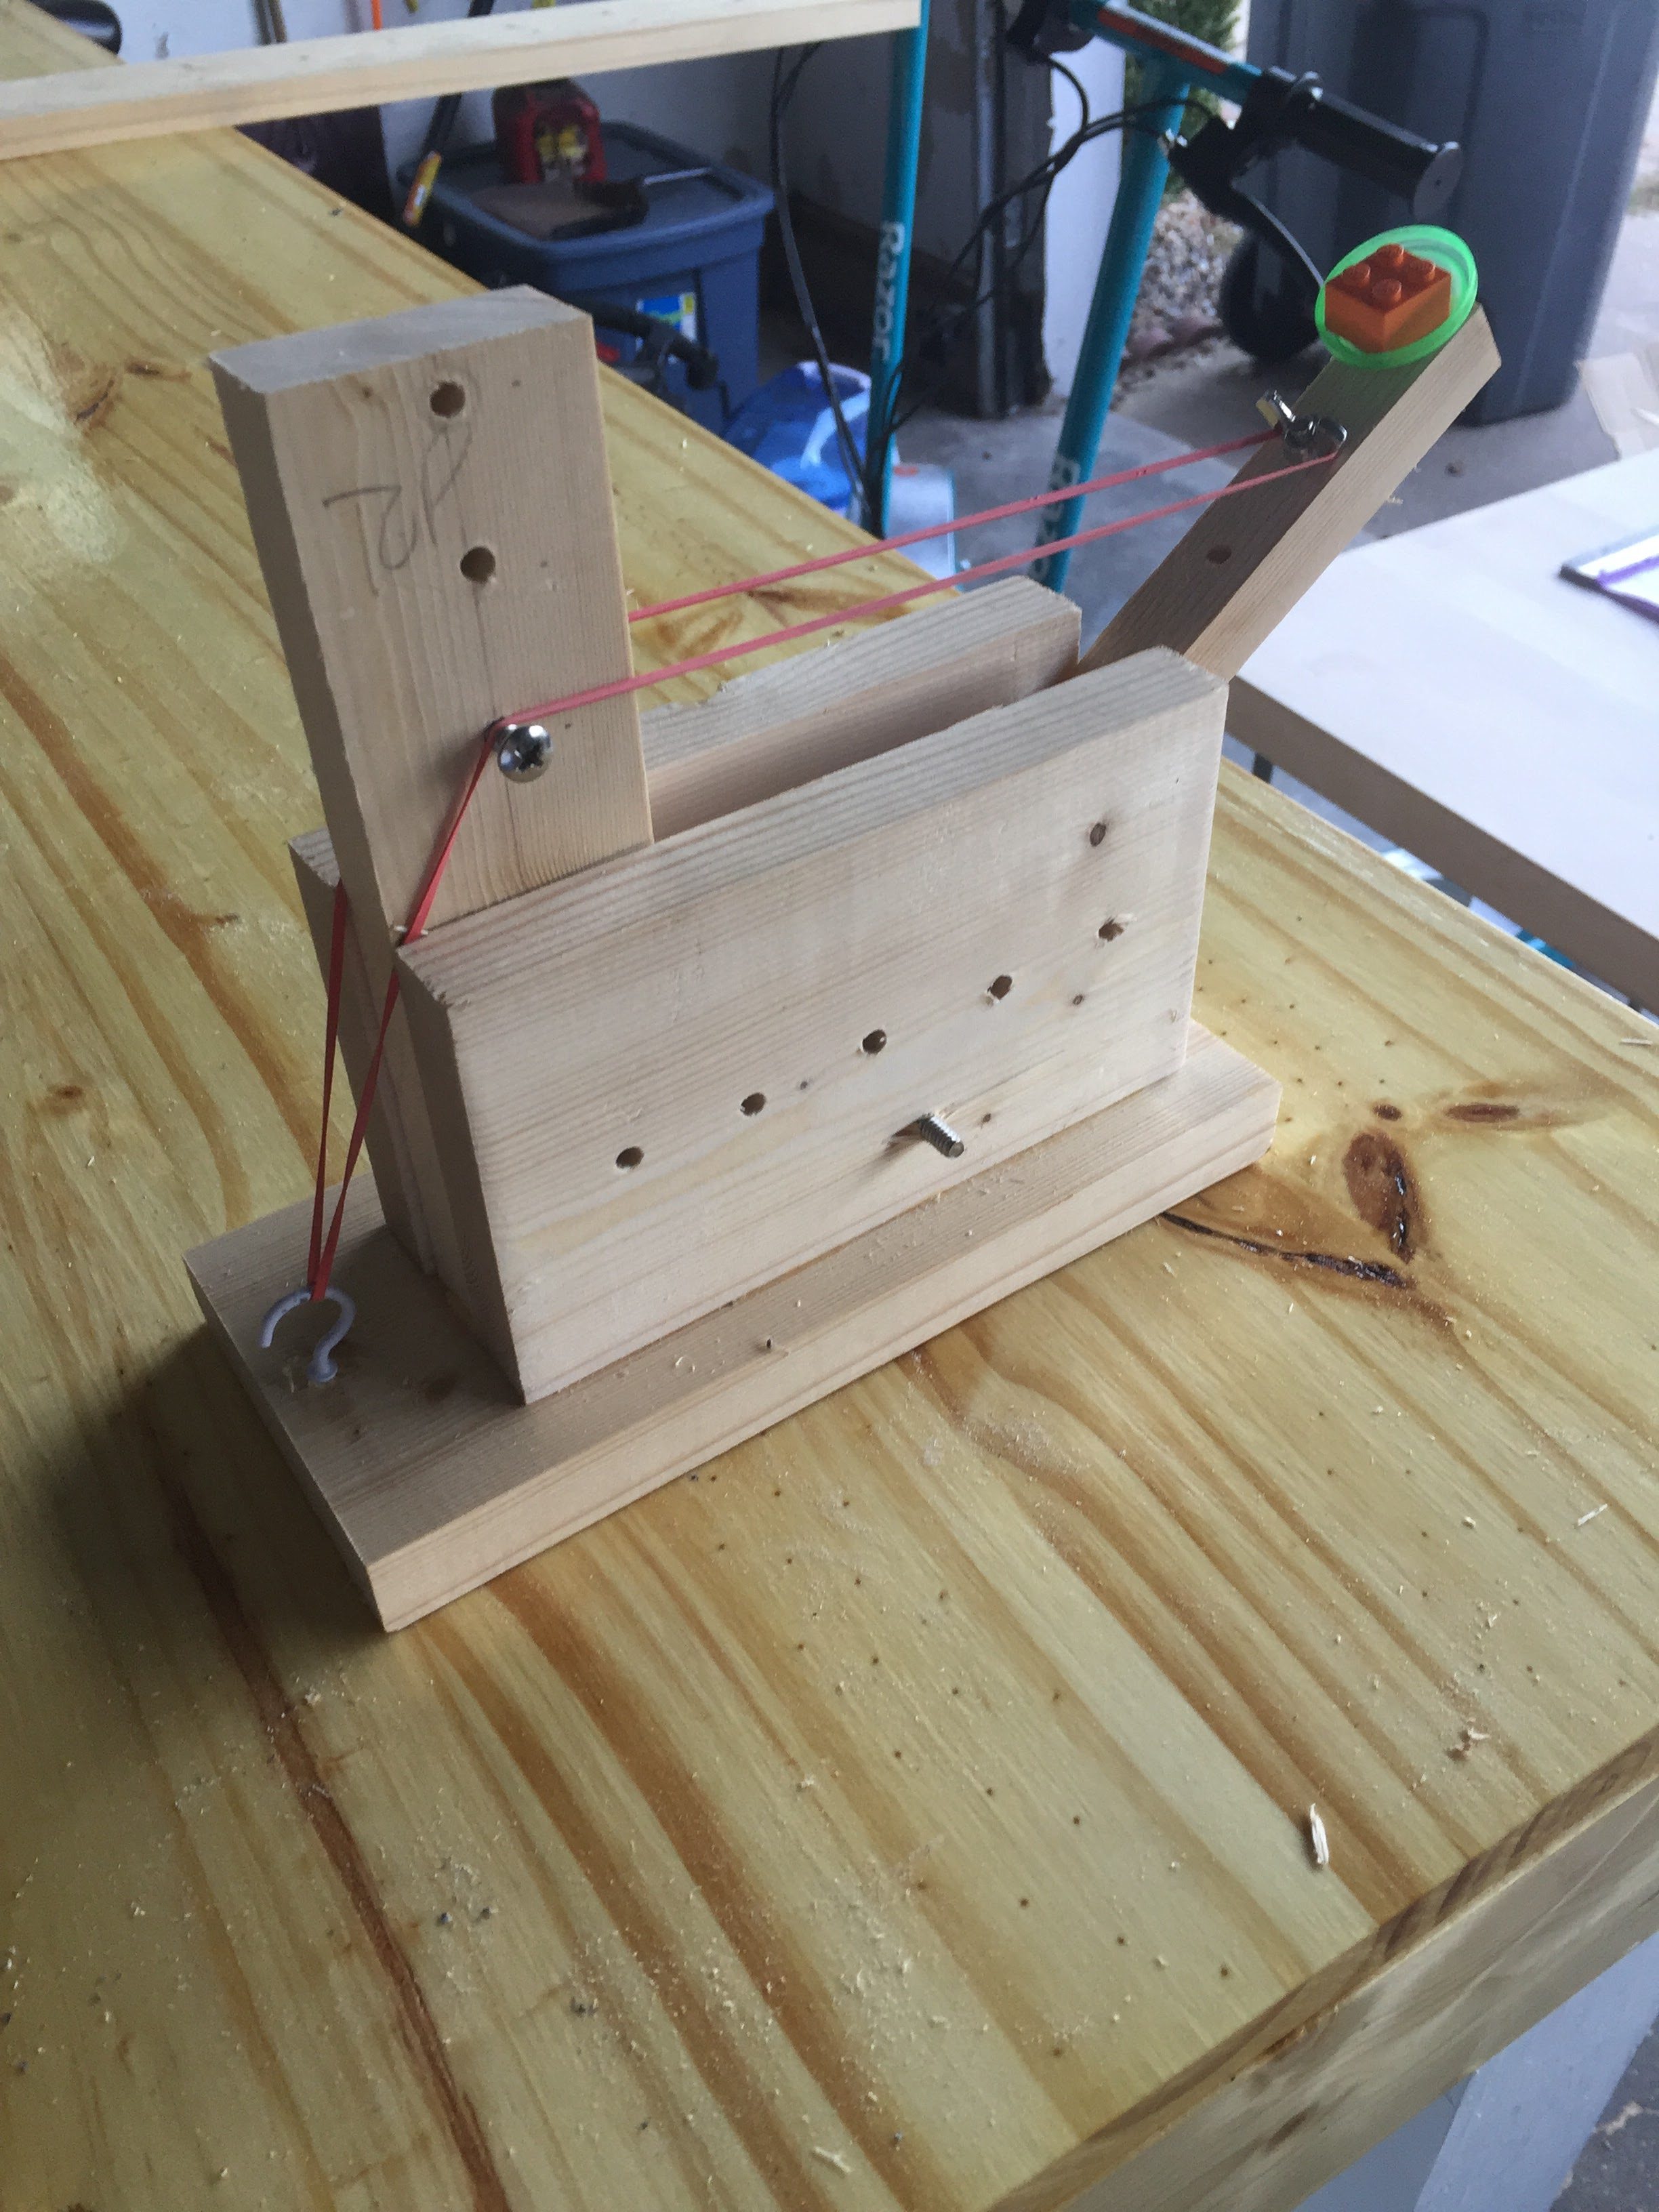
Catapult and Trebuchet Challenge
Purpose:
The purpose of this challenge project is to provide students a hands-on application of the principles and applications of projectile motion.
The Challenge
To construct a trebuchet/catapult capable of hurling its projectile further, and with more accuracy, than any other trebuchet in the class on two different levels:
Level 1
Construct a catapult from lightweight materials, including cardboard, paper clips, glue, tape and string, capable of hurling an object a distance of 20 feet.
Level 2
Construct a trebuchet from PVC and other materials that will be capable of hurling a tennis ball up to 100 feet.
Extension
Process
- Research history and use of catapults
- Brainstorm catapult design by sketching out plans on grid paper
- Design will need to be approved before you starting cutting PVC
- Share your idea on Flipgrid https://flipgrid.com/0aggxrn
- Construct catapult(completed in class)
- Document design process in Flipgrid
- Test your catapult for distance, accuracy and precision
Before you build you need to have a design of your idea. It must include the following concepts:
- The top of each page should include your name and name of trebuchet
- A diagram of your trebuchet design
- Include measurements of each piece of pvc to make sure you have enough materials
- Label whether joint is 90, 45, T, or cross PVC piece
Materials
- 3 x 10 foot ¾ PVC
- 10 x ¾ T Shape PVC
- 8 x 45 degree ¾ PVC
- 1 x 1” Cross PVC
- 1 x 1” PVC Caps
- 1 x 1” T Shape PVC
- Piece of hanger for trebuchet cap release
- Tennis ball
- Duct tape for pouch
Resources to Explore
- How does a catapult work?
- Catapult History and Modern Day Construction
- History of Catapults
- Catapults – many examples to build
- Build a Simple Trebuchet from Household Items
- Energy Transfer in Trebuchet
- How does a catapult work? – Podcast
- http://www.virtualtrebuchet.com/
- http://thehurl.wikidot.com/trebuchet:trebuchets
- http://www.real-world-physics-problems.com/catapult-physics.html
- The onager catapult is almost identical to the trebuchet, but instead of a falling counterweight, it uses a torsion bundle to rotate the arm (similar to the mangonel, described previously).
- Trebuchets History
- Discovery Channel Videos: Time Warp: Counterweight Trebuchet
Ideas to Consider
- Trebuchets are the superior siege weapon and can launch a 90 kg projectile over 300 meters
- Dynamics of motion
- immediate velocity at the point of release
- Trajectory basics
- Leverage
- Swinging basket vs static weight on the arm
- Centrifugal force
- Principles of finding the optimum range (45°) launch angle by experiment, then mathematically with trig and vectors, then looking at application in siege weapons
- Fun fact, 45° is actually not the optimum launch angle. The optimum launch angle varies with the coefficient of air drag on the body. If students throw a wadded up paper, a stone, a lead fishing line weight, and a cork, they will see different optimum angles to throw.
- Cube-square rule
Standards
Next Generation Science Standards Grades 3-5 (Ages 8-11)
- Motion and Stability: Forces and Interactions
- Students who demonstrate understanding can: 3-PS2-1. Plan and conduct an investigation to provide evidence of the effects of balanced and unbalanced forces on the motion of an object.
- Engineering Design
- Students who demonstrate understanding can:
- 3-5-ETS1-1.Define a simple design problem reflecting a need or a want that includes specified criteria for success and constraints on materials, time, or cost.
- 3-5-ETS1-2.Generate and compare multiple possible solutions to a problem based on how well each is likely to meet the criteria and constraints of the problem.
- 3-5-ETS1-3.Plan and carry out fair tests in which variables are controlled and failure points are considered to identify aspects of a model or prototype that can be improved.
- Students who demonstrate understanding can:
- Next Generation Science Standards Grades 6-8 (Ages 11-14)
- Engineering Design Students who demonstrate understanding can:
- MS-ETS1-1 Define the criteria and constraints of a design problem with sufficient precision to ensure a successful solution, taking into account relevant scientific principles and potential impacts on people and the natural environment that may limit possible solutions.
- Engineering Design Students who demonstrate understanding can:
- Principles and Standards for School Mathematics (ages 11 – 14)
- Measurement Standard -Apply appropriate techniques, tools, and formulas to determine measurements.
- solve simple problems involving rates and derived measurements for such attributes as velocity and density.
- Measurement Standard -Apply appropriate techniques, tools, and formulas to determine measurements.
- Principles and Standards for School Mathematics (ages 14 – 18)
- Measurement Standard – Apply appropriate techniques, tools, and formulas to determine measurements.
- analyze precision, accuracy, and approximate error in measurement situations
- Measurement Standard – Apply appropriate techniques, tools, and formulas to determine measurements.
Progression
Step 1 – Tic Tac Catapult
Step 2 – PITSCO Catapult
Insert Sketchup to design catapult
Step 3 – PVC
*Final challenge water balloons or small pumpkins
- Furthest distance
- Accuracy of Targets
- Community Challenge
Other Ideas
Home Depot PVC Water Balloon Launcher – http://blog.homedepot.com/3-pvc-projects-to-keep-your-kids-cool-this-summer/
Examples of Learning


Leave a Reply